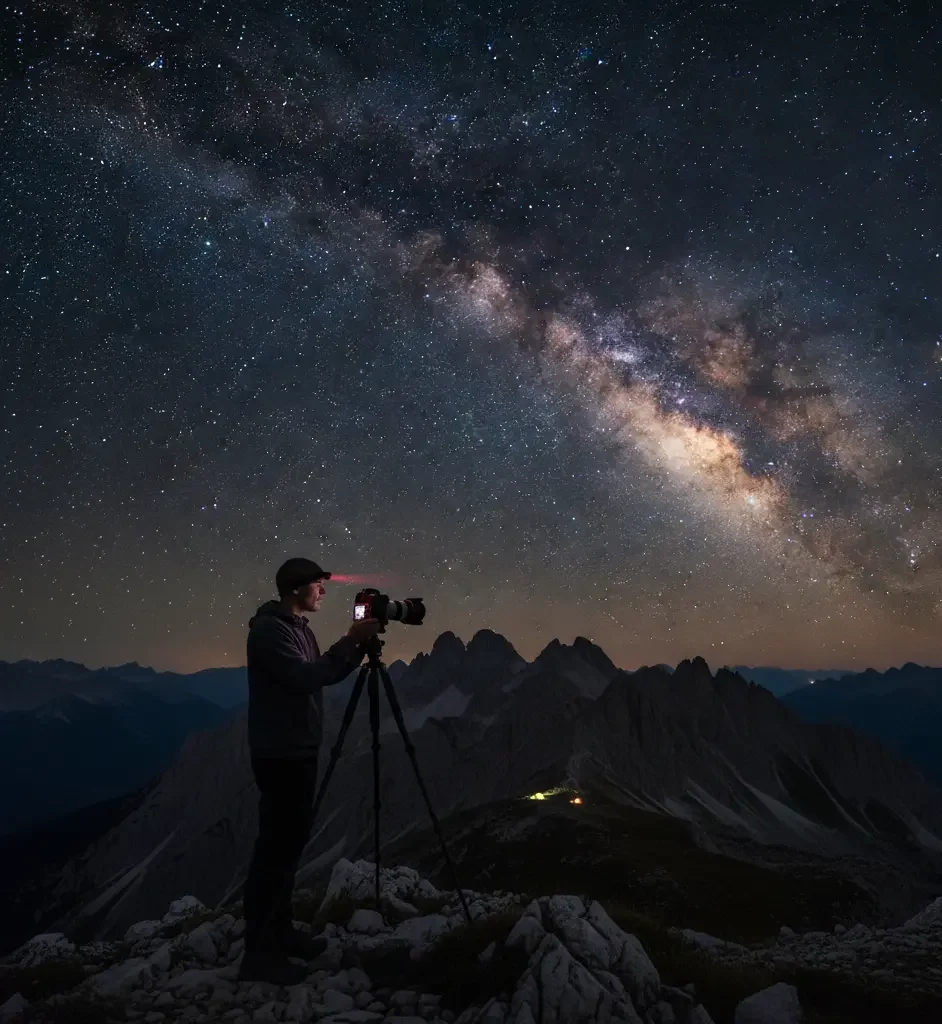
One of the most interesting and fulfilling fields in photography is to photograph the stars using a DSLR camera. Star photography is quite different than daytime photography, since you must work in near total darkness, have long exposures, and learn how the Earth’s rotation will impact what your camera will capture. Although it might appear technically tricky at the beginning, indeed, every person with a DSLR, a tripod, and minimal information about camera settings can easily create stunning shots of the night sky.
This guide tells you all you need to know to get started, which includes the necessary equipment and the camera configuration, the different methods of focusing, exposures, planning of the location, as well as the basics of post-processing. Be it simple star fields, constellations, or broad basics of the Milky Way, these basics will give you the same results and be impressive with consistency.
Understanding Star Photography
Stars are very small sources of light as seen on Earth. The eyes adapt to the dark on their own, whereas a camera sensor takes time and sensitivity to gather an adequate amount of light. That is why star photography depends on long exposures and high ISO settings.
The other significant cause is the rotation of the Earth. Due to the continuous motion of the planet, the stars are seen to move over the sky. When your shutter remains open excessively long, stars will no longer be points; they become streaks. The mastery of such a balance between light collection and movement control is the key to successful astrophotography.
Essential Equipment for Star Photography
DSLR or Mirrorless Camera
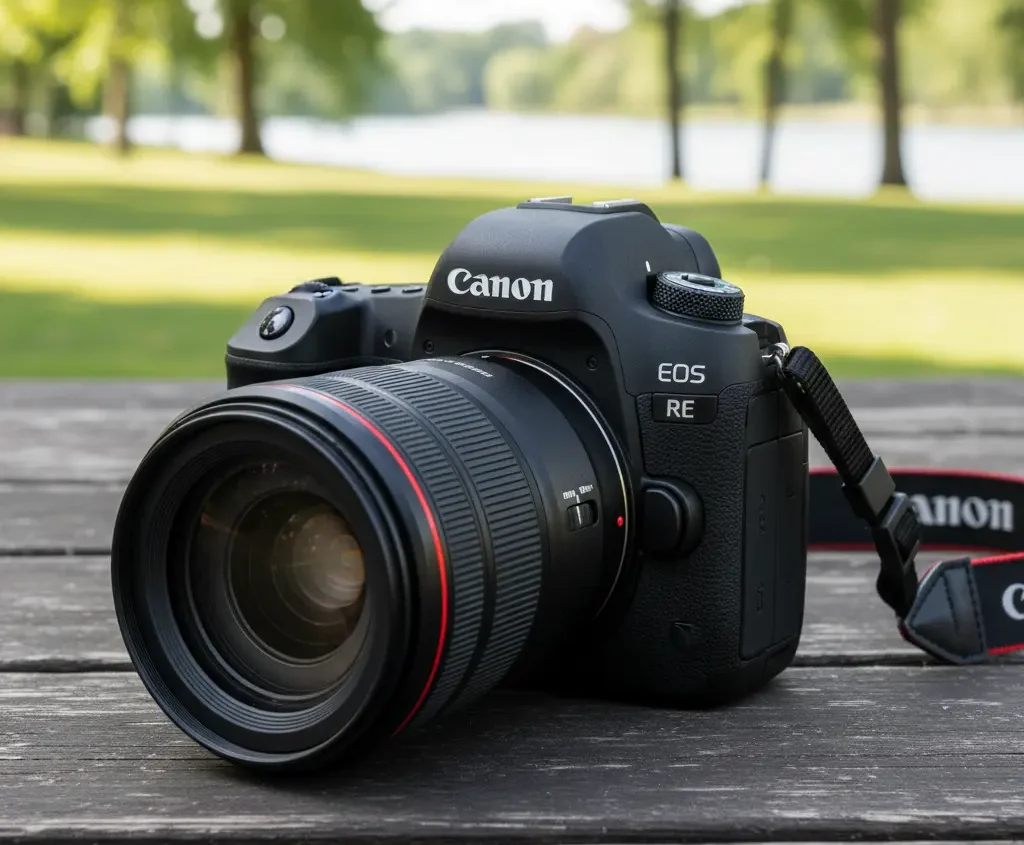
It is necessary to have a full manual control camera. You should be in control of shutter speed, aperture, focus, and ISO manually. Their entry-level DSLRs are good so long as they permit manual exposure and RAW image capturing.
Lens Selection
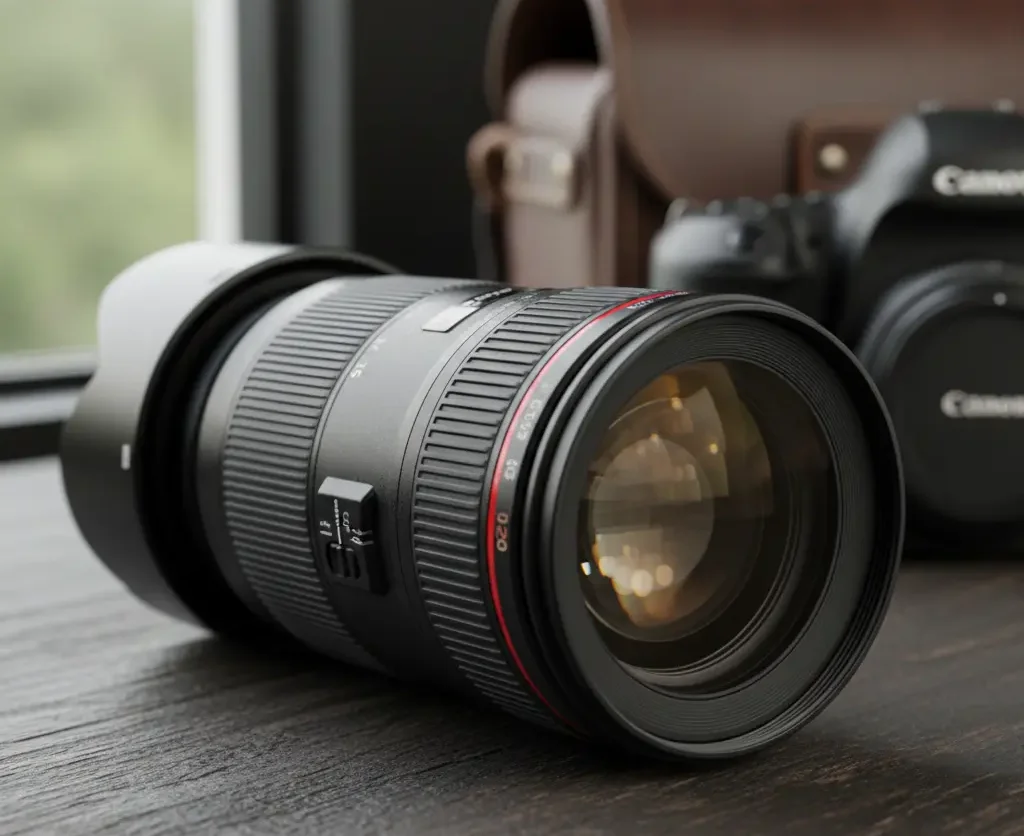
The wide-angle lenses are favored in star photography as they create a wider region of the sky, and they can have longer exposure without observable motion of the stars. The best lenses are 14mm-24mm, which can be used in a wide night sky, but a focal length of 35mm has some chances to work as well.
The use of a wide aperture lens is very useful. Aperture f/2.8 or bigger lenses can capture a lot more light to the sensor, and this eliminates the necessity of having extremely high ISO settings and also lowers noise.
Tripod
It requires a sturdy tripod that is secure. Exposures are usually in the range of 10-30 seconds, and therefore any movement of the camera will produce blurred stars. Tripeds of a small size or unsteady ones can destroy the otherwise ideal settings.
Remote Shutter release/timer
Shutter shaking can be caused by pressing the shutter button. The remote shutter release button or the self-timer built into the camera can aid in eliminating the vibration on the camera, even when the exposure is being taken.
Other Useful Accessories
The additional batteries would be essential as cold weather at night reduces battery life. The small headlamp is good because you can use it to change settings when in the dark without damaging your vision in the dark. Lens cloths are also used to get rid of condensation, and in the case of memory cards, you do not have to worry about storing your images.
Planning the Shoot: Location and Timing
Choosing a Dark Location
One of the greatest challenges in the process of star photography is light pollution. The lights of the city are stronger than the light of the stars and make a contrast, and the details are blurred. The image quality in rural areas or distant from artificial lighting is dramatically improved by shooting.
Selecting the Right Night
Moonlight is a source of natural light pollution. The optimum days to take star photography are during the new moon or when the moon sets early or rises late. Low humidity with clear skies results in sharpening of the stars and an increase in contrast.
Conceptualizing Seasonal Visibility
The yearly varieties of constellations and star patterns can be seen. The Milky Way core is seen best during certain months, which depend on where you are. Planning serves to make sure that you capture what you want to capture.
Step-by-Step DSLR Setup for Star Photography
Mounting the Camera
Make sure that you attach your DSLR to the tripod. Make sure the tripods are screwed tight, and the camera is stable so it does not move when taking the shot.
Switch to Manual Mode
Make your camera full manual. Auto modes are not able to capture starry skies properly and are usually ineffective in a low-light setting.
Image Format
Adjust the camera to record pictures in RAW format. RAW files are more detailed and offer more flexibility in the post-processing.
Camera Settings Explained in Detail
Aperture
Adjust the aperture of your lens to the largest aperture. The larger aperture enables more starlight to enter the sensor, and the ISO levels are maintained at a reasonable level.
Shutter Speed
The duration of time that the sensor receives light is the resulting shutter speed. With stationary tripods, the range of exposures is between 10 and 30 seconds. Prolonged exposures expose them to star trails because of the rotation of the Earth.
One of the standards is the 500 Rule. Divide 500 by the focal length of your lens to arrive at an approximation of the maximum time to be spent using the lens before stars start trailing. This is a guideline and not a rigid guideline, and it differs depending on the camera resolution and sensor size.
ISO
Something that ISO dictates is the sensitivity of the sensor to light. Begin with ISO 800 or 1600 and change accordingly. An increase in the ISO enhances the brightness of stars at the expense of digital noise. It is necessary to find the correct compromise.
White Balance
Adjust white balance to either day or a constant Kelvin number. The auto white balance can change colors randomly during the night scenes. The color corrections are more refined in the editing room.
Focusing in the Dark
Autofocus is not reliable in the dark. Always focus the lenses manually before taking the shots.
Live view and magnify the display to point to a brighter light or another source of light in the distance. Turn the focus gradually till the star is a small, sharp point. One of the most frequent reasons for blurring stars is slight focus failures.
Touching the focus ring. Once focus is obtained, do not touch the focus ring. Other photographers use tape to ensure that it does not move accidentally.
Taking the Shot
Use a remote shutter or establish a slight delay in the camera time. This eliminates the vibrations on pressing the shutter button.
Having received the initial exposure, check out the image and histogram. The sky is not supposed to be fully black, and the stars are not supposed to be blurred. Adjust ISO or shutter speed (where needed).
Whenever you take several photos, use different settings to be able to get the best exposure.
Composition Tips for Star Photography
Strong composition makes star photography more impressive to the eye. Foreground can also include trees, mountains, or buildings, and this can give size and interest to the picture.
The horizon should be placed in an appropriate position and should never be in the middle of the frame unless there is a creative reason as to why. First lines and silhouette assist in directing the eye of the viewer towards the stars.
Common Problems and Solutions: Blurry Stars
Blurry Stars
This is normally brought about by wrong focus or motion of the camera. Check again and make sure that the tripod is stable.
Star Trails When Not Desired
Cut down the exposure period or open the lens aperture. The rotation of the Earth is more evident with longer focal lengths and exposures.
Excessive Noise
Reduce the ISO a notch or two and think of piling up several images in the post-processing to enhance the quality of the image.
Bright Sky Glow
Sars can be washed away by light pollution or the moonlight. Shoot in the dark or on moonless days.
Advanced Techniques
Image Stacking
By adding several exposures, the signal-to-noise ratio is enhanced, and faint stars can be seen. Such a method is common in astrophotography, and it needs special software.
Star Trackers
A star tracker is used to move the camera with the rotation of the Earth so that a longer exposure can be made without trails of stars. This is particularly handy in deep sky objects such as the nebulae and galaxies.
Star Trails Photography
Star trails do not avoid the movement of stars, but purposefully capture them. This is either by using a very long exposure or combining numerous much shorter exposures to depict circular star trails around the heavenly pole.
Basic Post-Processing Workflow
The post-processing is needed to give the star photos their detail. Experiment with exposure, contrast, and black settings in order to bring out stars without brightening the sky too much.
Noise suppressers aid in cleaning up noisy photos. Unobtrusive color manipulations show natural starlight colors and the Milky Way formation.
Avoid over-processing. All-natural skies tend to look more appealing than those that are oversaturated.
Final Thoughts
The installation of a DSLR to take photos of stars is not a very complicated task; one has to get used to doing it. What you consider to be your initial efforts will not show any perfection, but every session will offer you some important insights regarding exposure, focus, and planning.
Patience, preparation and experimentation are the most crucial considerations. Even a small set of equipment with constant practice would yield amazing shots of the night sky.
Star photography not only develops technical ability but also promotes a closer association with the night sky. When you have made your first stinging shot, full of stars, you get hooked on it, and it feels very gratifying.